What happens to rain after a storm?
Make a model that shows how water flows over different land shapes!
A topographic map shows different land features, like mountains, ravines, and plains, using curved lines or colors to show altitude. It’s an easy way to show a 3D view of something on a flat surface. Topo maps are commonly used by hikers, surveyors, government workers, and engineers, among other people.
Our model won’t be flat so it isn’t exactly like a topo map, but it will show the same type of information!
Ready to make your own? Follow the written steps below!
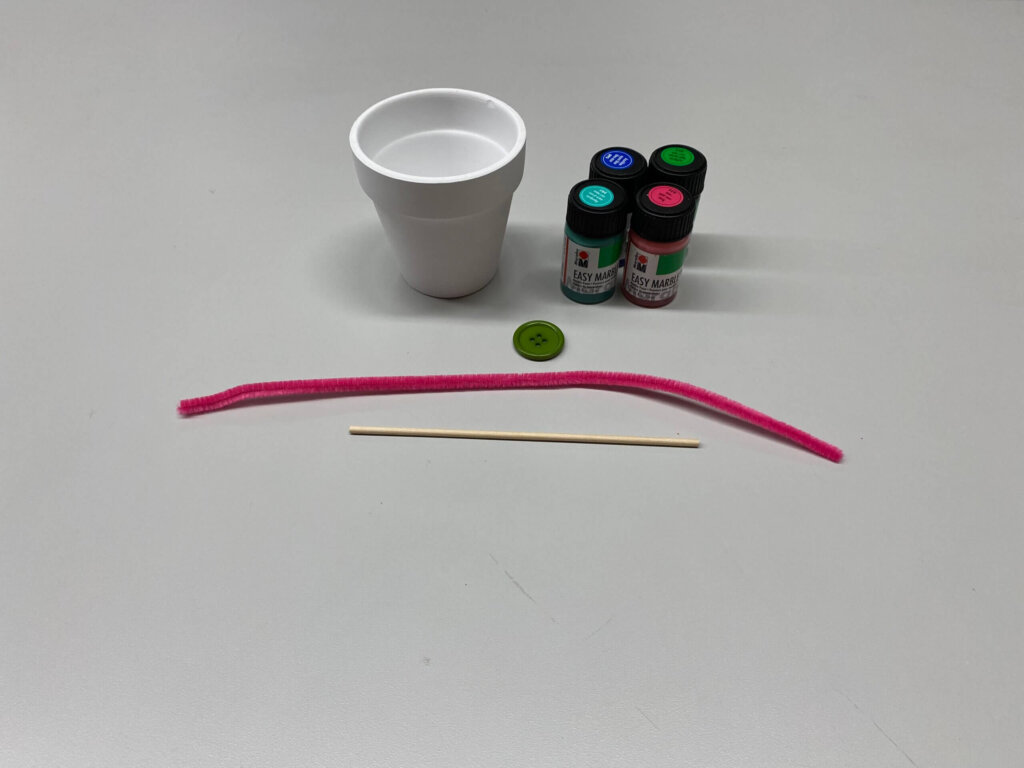
Materials you will need:
- Half sheet of paper
- Washable marker
- Dropper bottle (your adult can also make one by using a thumb tack to poke a whole in a water bottle cap)
- Tray or towel to catch any water spills

Directions:
Step 1: Crumple up a piece of paper and gently open it most of the way. It should still show ridges (high points) and valleys (low points.)

Step 2: Choose one of the ridges and color the whole ridgeline with a washable marker. Use lots of ink! (It’s easier if you use the flat side of the marker.)
Step 3: Place the paper on the towel or tray.

Step 4: Use the dropper to pour water onto the peak, simulating a rainstorm.
Step 5: Repeat this experiment with more ridges on your crumpled paper.
The colored water is following the path of the watershed!

The Science of Paper Mountains
- Watersheds are parts of land, like mountains, that drain rain water and snow melt into rivers and lakes. This water can carry particles from the land into big bodies of water.
- Marker ink moves with the water similarly to surface particles that are carried through a watershed.
- Surface waste like trash on streets, exposed soil from landslides or construction, or pollution from mines or farms, is picked up by rainwater and carried to the closest body of water.
- What happens upstream always influences the water quality and processes downstream.
- Does your mountain have a dry side? A rain shadow is a dry area of a mountain that is caused by rain falling before the wind can carry it to the other side of the mountain.
Expand on This Activity:
Ask Your Scientist the Following Questions:
- Which direction is the water flowing?
- Does height make a difference?
- Which parts of the paper stayed dry?
Keep Experimenting:
- If you have one at home, try putting a Monopoly house or similar small object on different parts of the mountain. See how its location affects the house during heavy rain.
- Test different heights for your mountain. When you keep the paper more crinkled you have higher peaks, does the water flow differently than if you flatten the paper more?


")
")


")

")


")
")

")

")