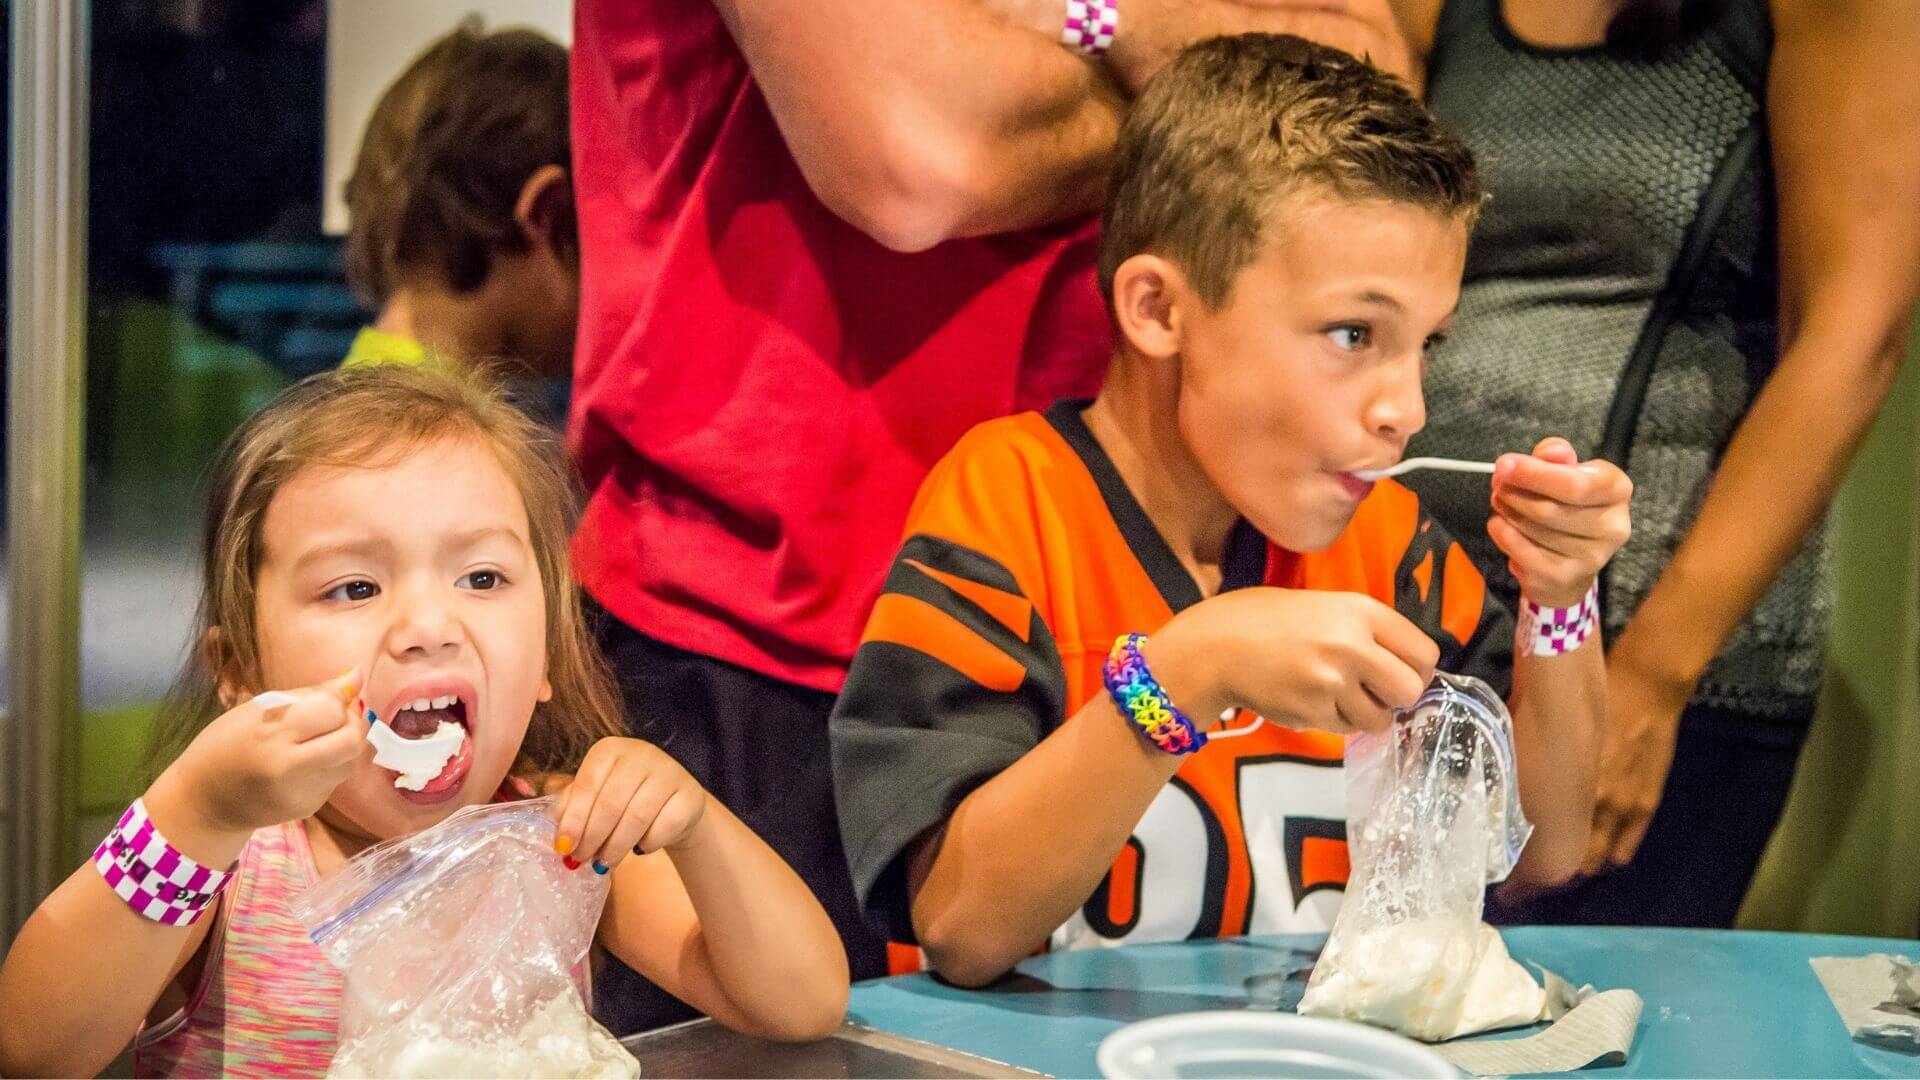
I scream, you scream, we all scream "SCIENCE" with this ice cream science project!
Get that chilly sensation whenever you want as you learn the science of cold by making homemade ice cream! This vanilla or chocolate ice cream science project doesn’t require any fancy equipment, just plastic food storage bags, elbow grease, and chemistry!
Recommend age: 5+; younger scientists may need help measuring ingredients and shaking the bag.
Mess Alert: This activity can be messy since the bags can leak! You may want to shake the bags outside or over a sink.
Materials you will need:
- ½ cup of whole milk or half-and-half
- 1 tablespoon of sugar
- ¼ teaspoon of vanilla
- 1 tablespoon of cocoa powder
- 6 tablespoons of rock salt or ice cream salt
- 1 pint-size plastic food storage bag (e.g., Ziploc)
- 1 gallon-size plastic food storage bag
- Ice cubes
- Duct tape
")
Directions:
Step 1:
Fill the gallon-size plastic food storage bag halfway with ice, and add the rock salt to the ice. Seal the bag so it doesn’t spill while you prepare the ice cream ingredients.
Tip: You can add more than one bag of ice cream to the bag of ice and shake them at the same time. If you do make more than one bag, you can use a Sharpie to label the bags of ice cream to tell them apart.

Step 2:
Add the milk and sugar to the pint-size plastic food storage bag. Optional: add cocoa powder to the pint-size bag to make chocolate ice cream. (Add the vanilla to the pint-size bag, even chocolate ice cream has a little vanilla in it!)
Squeeze the excess air out of the pint-size bag and seal it, and tape the seal shut with duct tape to keep it from spilling. Shake the pint-size bag for a few seconds to mix the ice cream ingredients.
Tip: ½ cup of milk will make about 1 scoop of ice cream, so double the recipe if you want more. But don't increase the proportions more than that – a large amount might be too big for kids to pick-up because the ice itself is heavy.

While you're making and shaking your ice cream talk about physical and chemical changes and encourage your scientist to answer the following:
- What does your ice cream look like?
- Why do you think the ingredients in the pint-size bag turn to ice cream?
- What do you think the shaking did?
- Why do you think we added salt to the ice?
- What physical or chemical changes did you observe while making your ice cream?
- What other examples of physical or chemical changes can you think of?
- Dive deeper into a science topic with the “Learn More” section.
Step 3:
Open the gallon-size bag and put the pint-size bag inside it, and carefully seal the gallon-size bag again. Make sure it is completely shut!
Shake until the mixture in the pint-size bag is ice cream, which takes about 5 minutes.
Wipe off or rinse the top of the pint-size bag with cold water to remove any salt, then open the bag carefully, add any toppings you would like, and enjoy your ice cream!
")
Expand on the activity!
The Science: Physical and Chemical Changes
We talk about two types of changes in chemistry: physical changes and chemical changes. We also talk a lot about matter, which is is anything that takes up space.
In a physical change, the form of matter is changed, while its chemical identity remains the same.
- Think about cutting a piece of paper into bits. It’s still paper, just in smaller pieces. Physical changes are also reversible. You could tape the paper back together! Other examples of physical changes include boiling, melting, freezing, dissolving, and mixing.
In a chemical change, the chemical reaction occurs. The chemical reaction changes the chemical identity of the matter, and new products are formed that you can’t easily reverse.
- Think of a campfire. The fire takes a log and creates ash and smoke, two chemically-distinct products.
There are 5 signs that a chemical reaction has occurred. They’re easy to remember… just think about F.A.R.T.S.
Fizzes: Did the reaction produce bubbles or gas?
Aroma: Did the reaction produce a smell?
Re-color: Did the reaction produce a new color?
Temperature: Did the reaction produce a temperature change or release light?
New Substance: Did the reaction produce a new substance?
When making ice cream, you’re using physical changes. You mix and dissolve the sugar into the milk, but this doesn’t change the chemical structure of the milk and you could remove the sugar is you tried.
When you shake your bag, you’re freezing the milk, which means the water in it is turning from a liquid (water) into a solid (ice). This is also a physical change! We still see lots of physical and chemical changes in the kitchen. Which ones can you think of?
Learn More: Chemistry
Why do we shake our ice cream science project instead of just popping the ice cream in the freezer?
Ice cream is an emulsion. In an emulsion, small droplets of one liquid are dispersed (or spread out) throughout another. When you shake the ice cream, you disperse the ice crystals, fat molecules, and air in the other ingredients.
The more you shake, the smaller the ice crystals get and the more air you add. This makes the ice cream creamier! We add salt to the ice so we can shake the ice cream long enough to emulsify it.
Every substance has a melting point, which is the temperature it melts or freezes at. For freshwater, the melting temperature is 32ºF/0ºC. Adding rock salt lowers the melting point of water. A 10% salt solution freezes at about 20ºF/-6ºC.
With a lower melting point, we can shake the ice cream longer to better diffuse the different parts. If it froze faster, this would be much harder to do.
OSC At Home Emails
Get a round up of our latest activities and ideas delivered straight to your inbox so you don't miss a thing!
Find out when we release new resources by following us on social media!
Follow us on social media for even more science fun including fun facts, games, behind-the-scenes photos, and more!

![]()
![]()
![]()
Support OSC At Home
In these ever-changing times, it is our pleasure to adapt quality Orlando Science Center experiences to engage with everyone while they are safe at home. Please consider supporting our operating fund to ensure we can continue developing resources today and well into the future. Thank you for your generosity and support!