How do you make a dinosaur fossil? Well, say you had your own dinosaur, first you’d have to bury it in layers and layers of dirt. Then, make sure there are no pockets in the sediment where air and water can reach the rock, and then wait tens of thousands of years. Voilà! You have fossilized dinosaur bones and teeth!
Now, no one has tens of thousands of years to wait around, or a dinosaur for that matter. But, even if you made a time machine and traveled back in time to the Jurassic period to find a dinosaur and give it time to fossilize, something could still go wrong. The bones could be too fragile, destroyed by air or water, or uncovered too early.
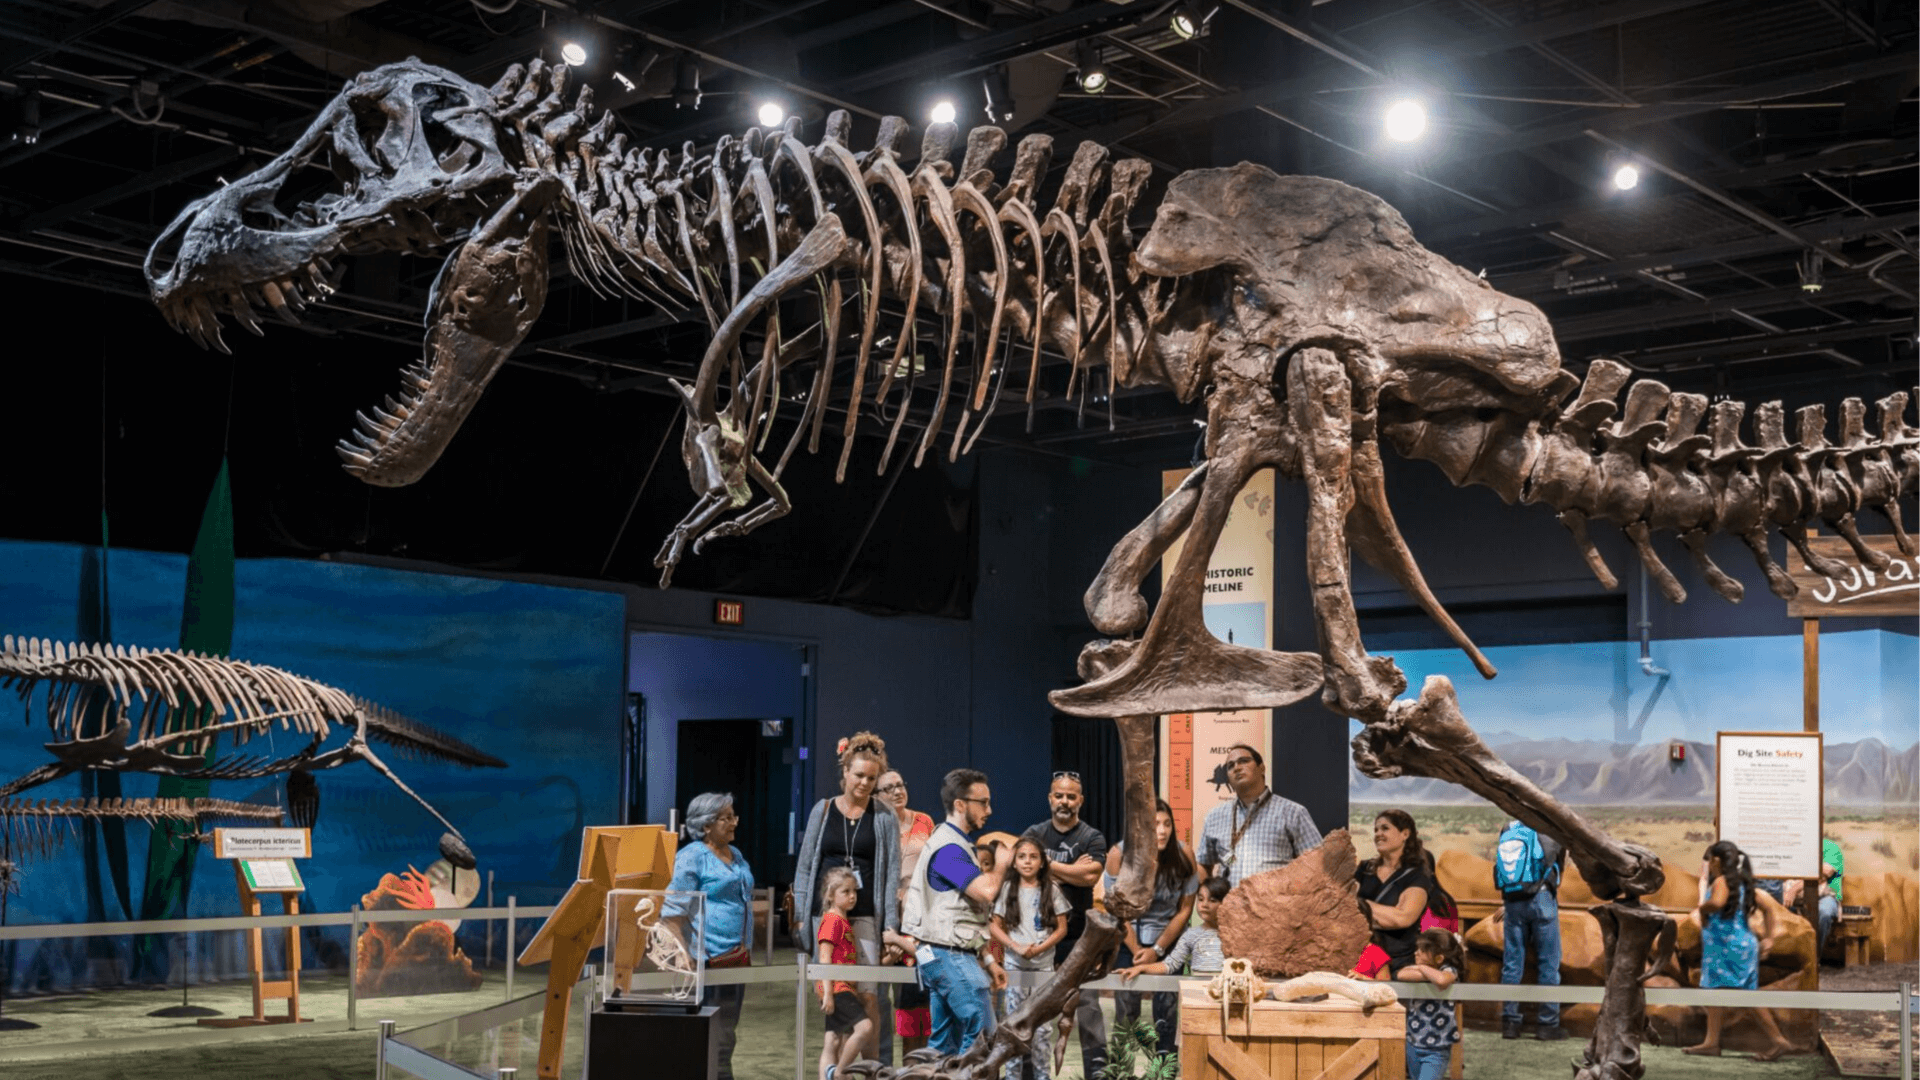
So, the bad news is it’s really hard to make your own real fossils. But don’t worry! Our paleontology enthusiasts at Orlando Science Center have put together a DIY experiment to make your own model fossils at home with items you already have in your kitchen!
To make your own fossils at home, you will need:
- 1 cup of used coffee grounds
- ½ cup cold coffee
- 1 cup of all-purpose flour
- ½ cup of salt
- Wax paper
- Mixing bowls
- Small objects (small toy dinosaurs, seashells, starfish, etc.) to make impressions
- An empty can, a butter knife, or a cookie cutter
Directions:
- Brew a small amount of coffee (or make a little extra in the morning) and save the grounds. Allow the coffee to cool.
- Mix the coffee grinds, flour, and salt together in a bowl. Slowly add the coffee bit by bit and mix with the dry ingredients until the mixture forms a dough. The amount of coffee you need depends on how wet the coffee grounds are.
- Scoop the dough out onto the wax paper. Knead for 3-4 minutes, until the dough holds its shape and becomes less sticky.
- Use the can to cut out circles out of the dough. You can also use cookie cutters or a butter knife to cut out fun shapes.
- Press the small objects firmly into the dough to create an imprint. Remove the object.
- You can use a toothpick to poke a small hole near the edge of the fossil. After the fossil has dried, you can add string and hang it.
- Bake at 200°F for 45 minutes. Larger or thicker fossils may take longer to completely harden.
Once you've made your own fossils, share your photos on social media in our Facebook Member Community using #OSCMember, tag us on Instagram, or email sciencelive@osc.org!
OSC At Home Emails
Get a round up of our latest activities and ideas delivered straight to your inbox so you don't miss a thing!
Find out when we release new resources by following us on social media!
Follow us on social media for even more science fun including fun facts, games, behind-the-scenes photos, and more!

![]()
![]()
![]()
Support OSC At Home
In these ever-changing times, it is our pleasure to adapt quality Orlando Science Center experiences to engage with everyone while they are safe at home. Please consider supporting our operating fund to ensure we can continue developing resources today and well into the future. Thank you for your generosity and support!