Dip into gardening with a hydro-dipped painted pot activity
Lend a hand to our pollinating pals with a hands-on hydro-dipped painted pot activity that kids of all ages will enjoy!
Hydro-dipping is the process of decorating an item by dipping it into water with a film of paint floating on top. The paint sticks to the object perfectly and completely, no matter its shape!
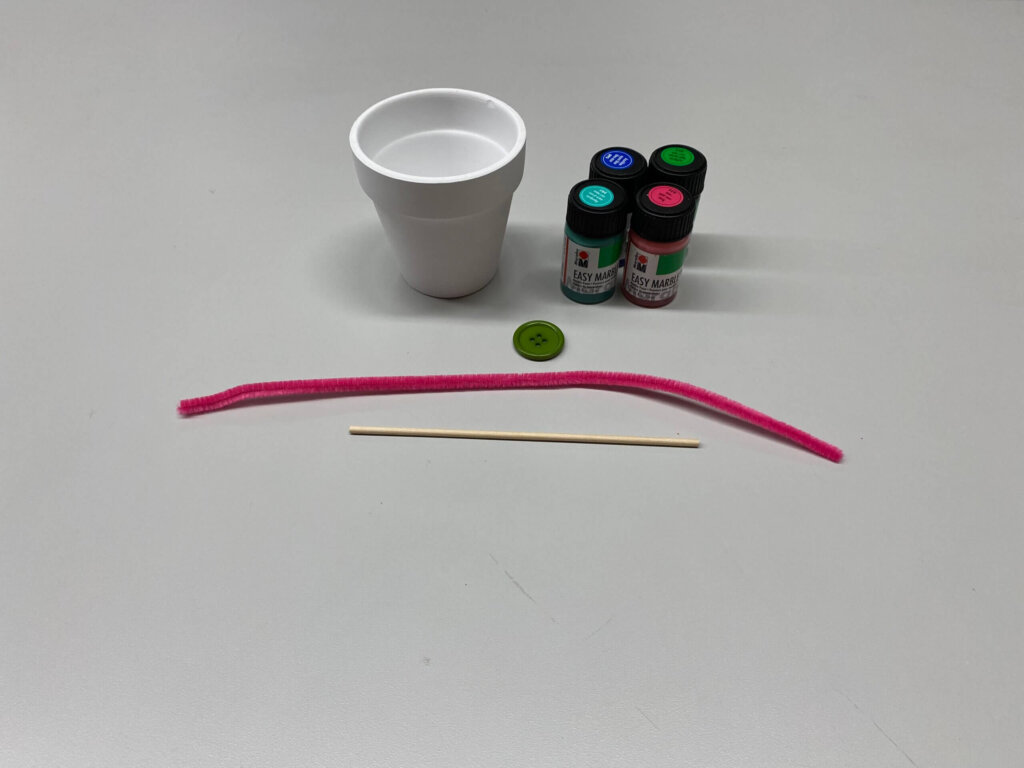
Materials:
- White terracotta pot (A regular terracotta pot will work too, the colors will just look slightly different!)
- 5-gallon bucket, or another large container
- 1 large button
- 1 pipe cleaner
- 1 dowel rod
- Paper towels
- Hydrophobic Marbling Paint (We use the brand Marabu)
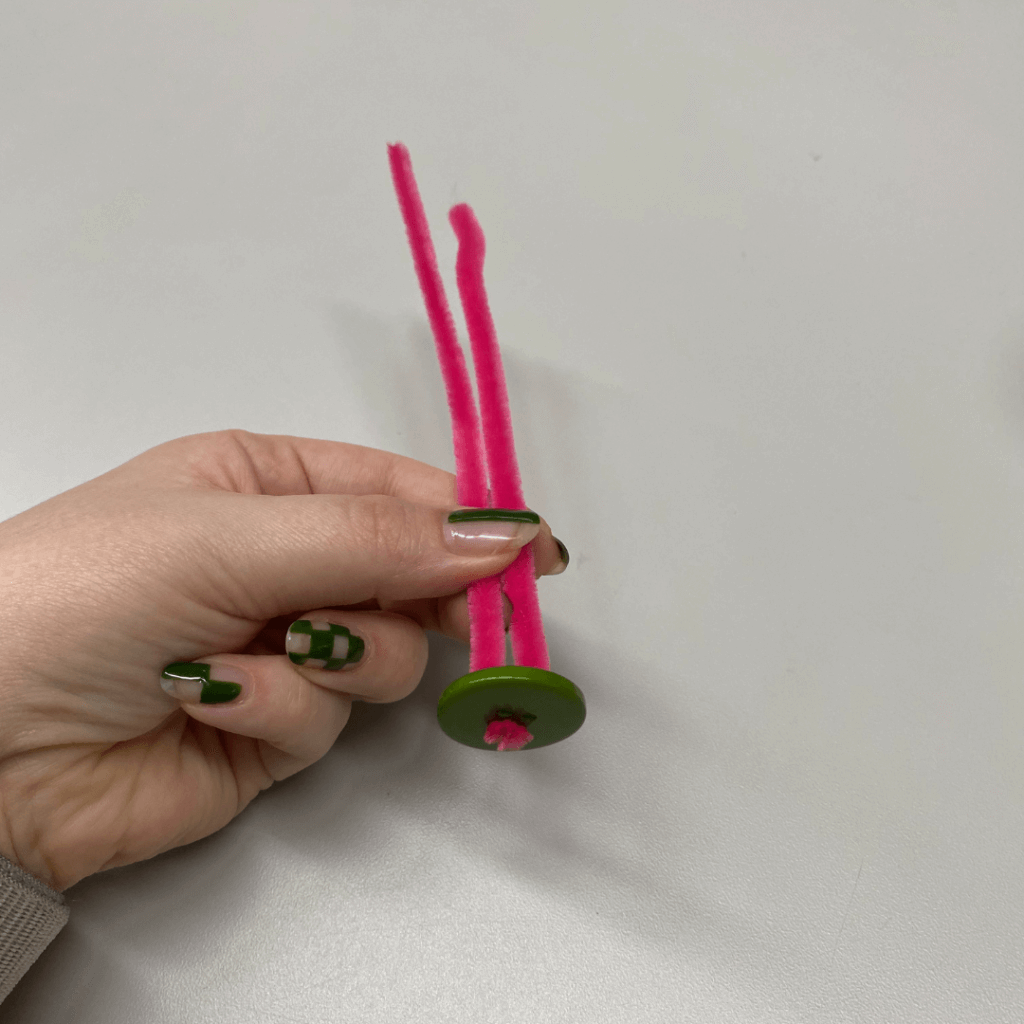
Step 1:
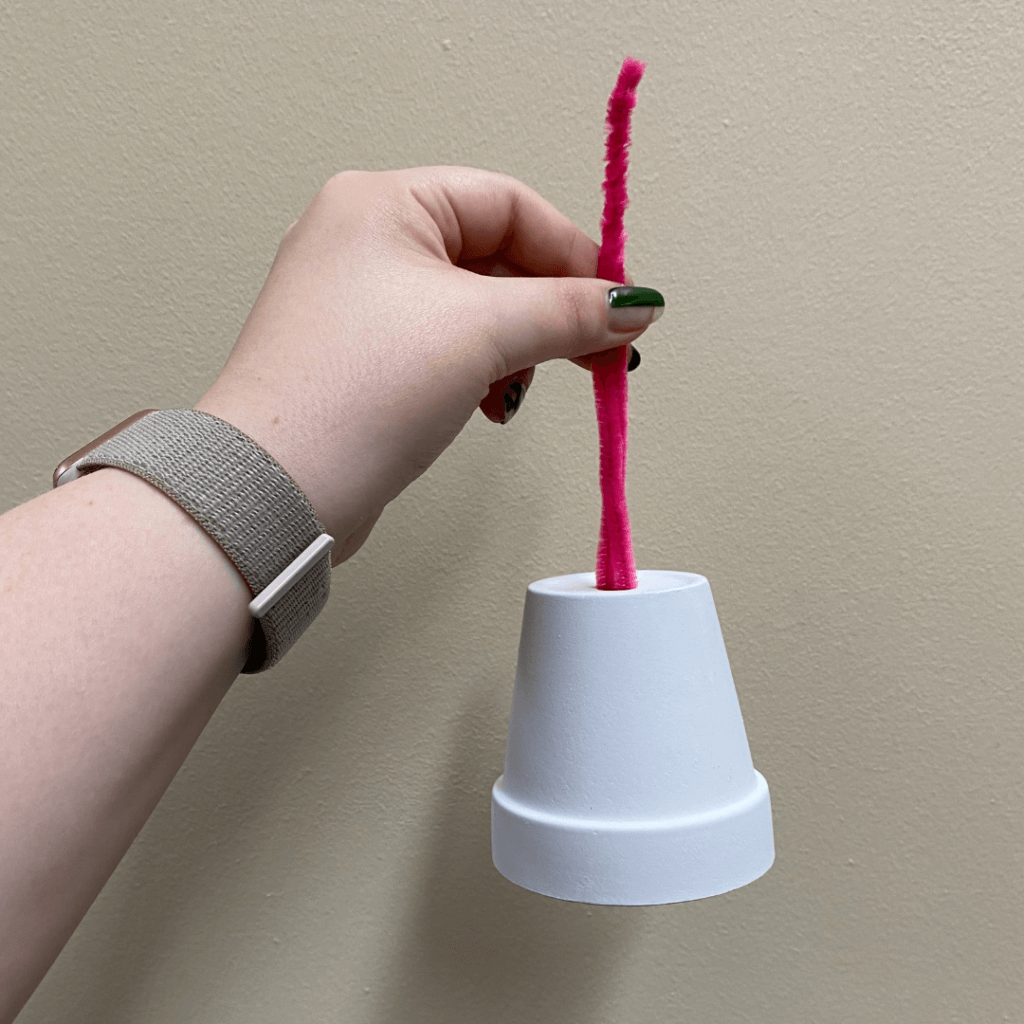
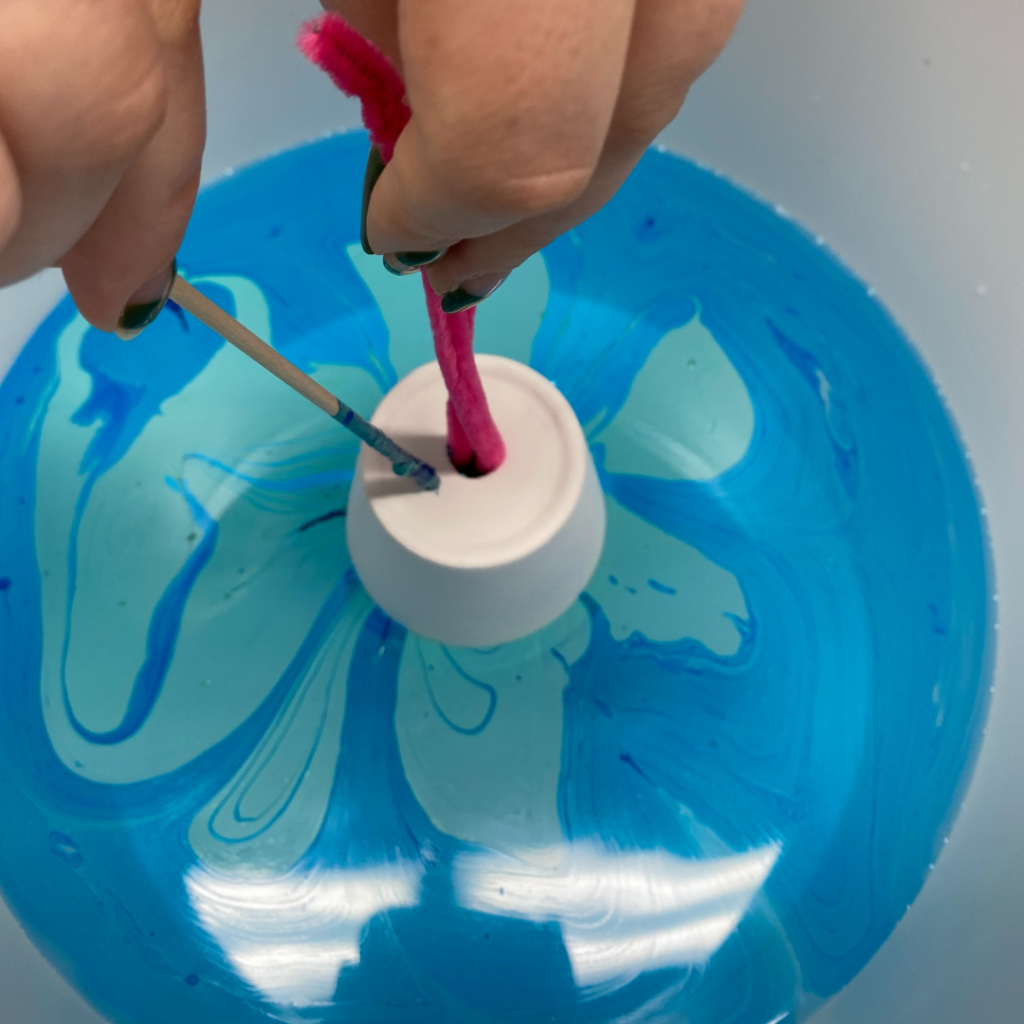
Create a Hydro-Dipping Mechanism!Thread both ends of your pipe cleaner into the button, then pull your button down towards the middle.Next, twist your pipe cleaner ends together. This will be used as a hydro-dipping mechanism for your pot. Poke the twisted ends of the pipe cleaner through the drainage hole at the bottom of the pot. The result should leave you with pipe cleaner to hold while dipping so your hands stay clean.
Step 2:
Prepare your Dipping Station!Fill your bucket or container with enough water for your pot to be fully submerged when dipping.At this time, it’s a good idea to set up your paint, dowel rod, and some paper towels near your bucket.
Step 3:
Pick your Palette! Choose at least two colors of paint and shakeabout 5-6 drops of each into the bucket.
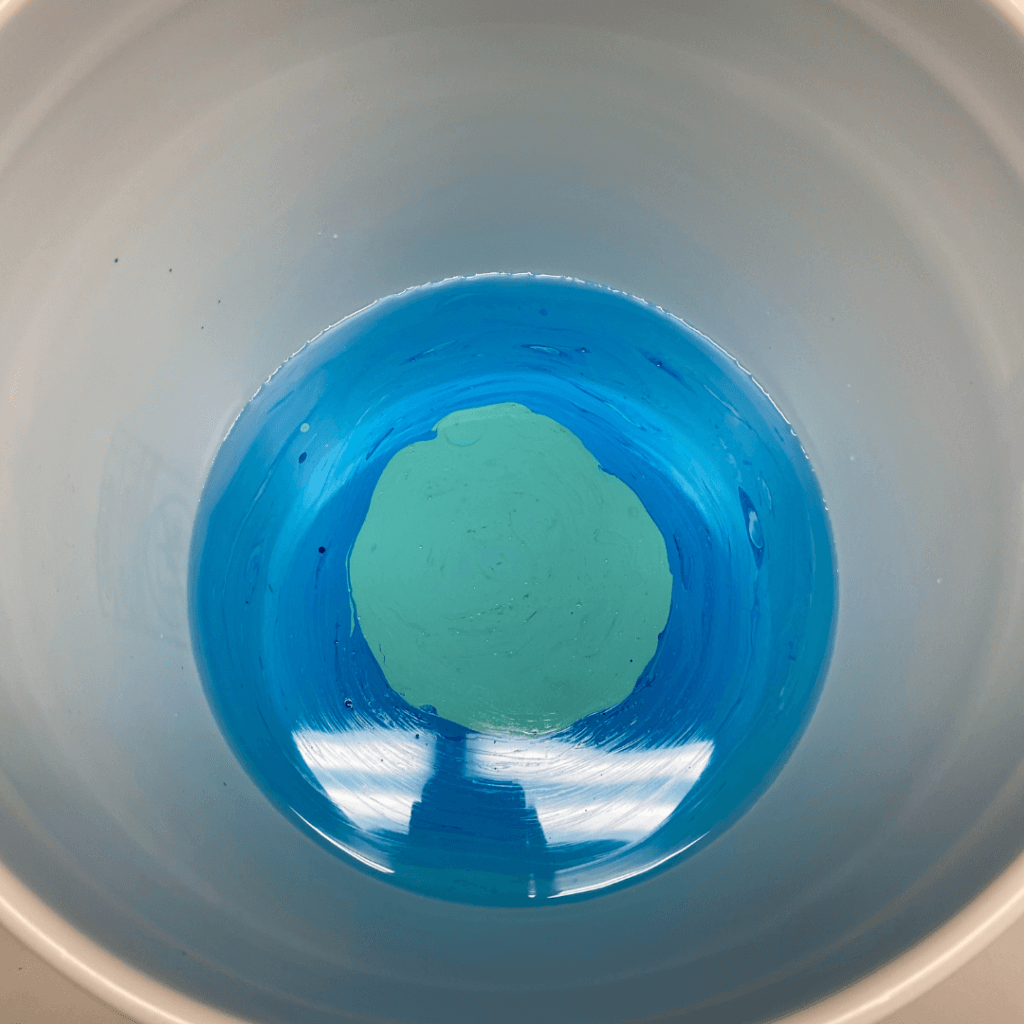
Step 4:
Give it a Swirl!Working quickly, use your dowel rod and gently make a few swirls in the paint. This will help achieve a marbled look when dipping the pot. Be careful! The paint will want to stick to the dowel rod!
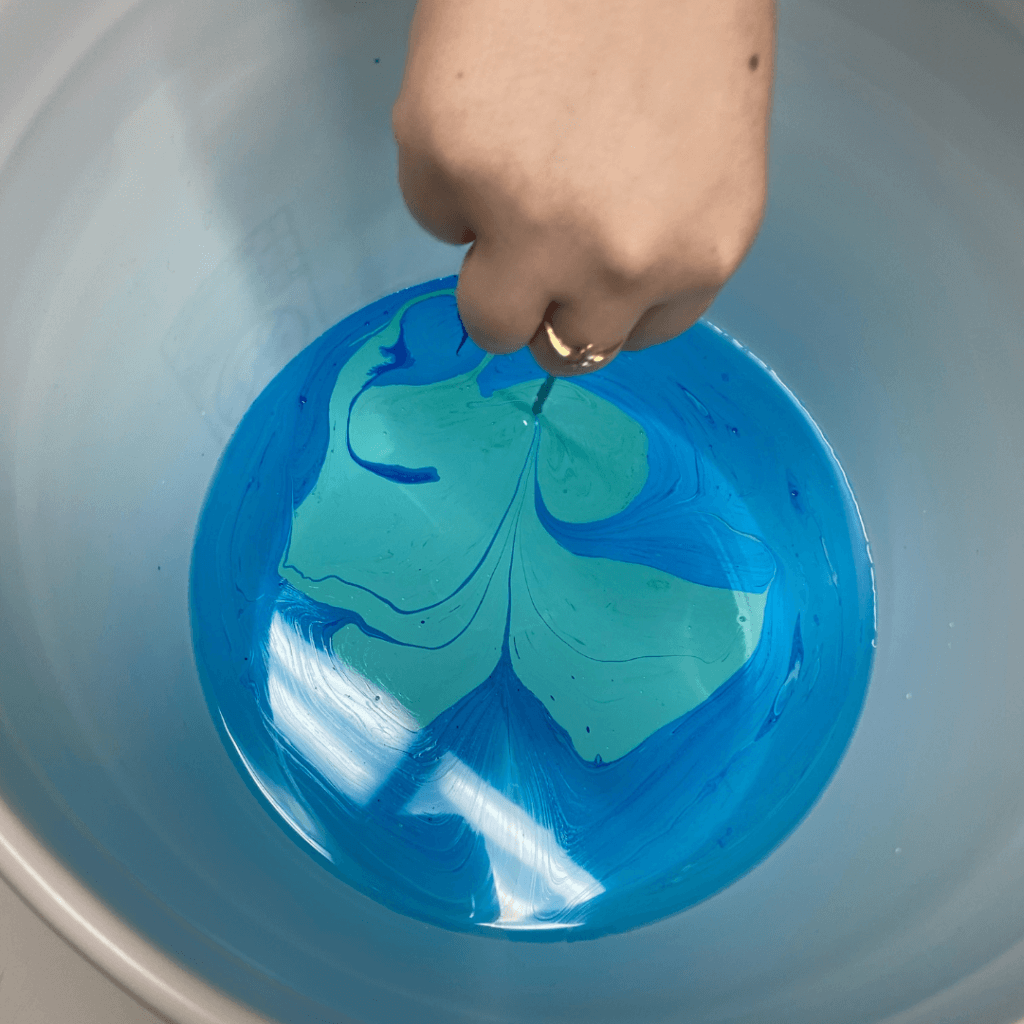
Step 5:
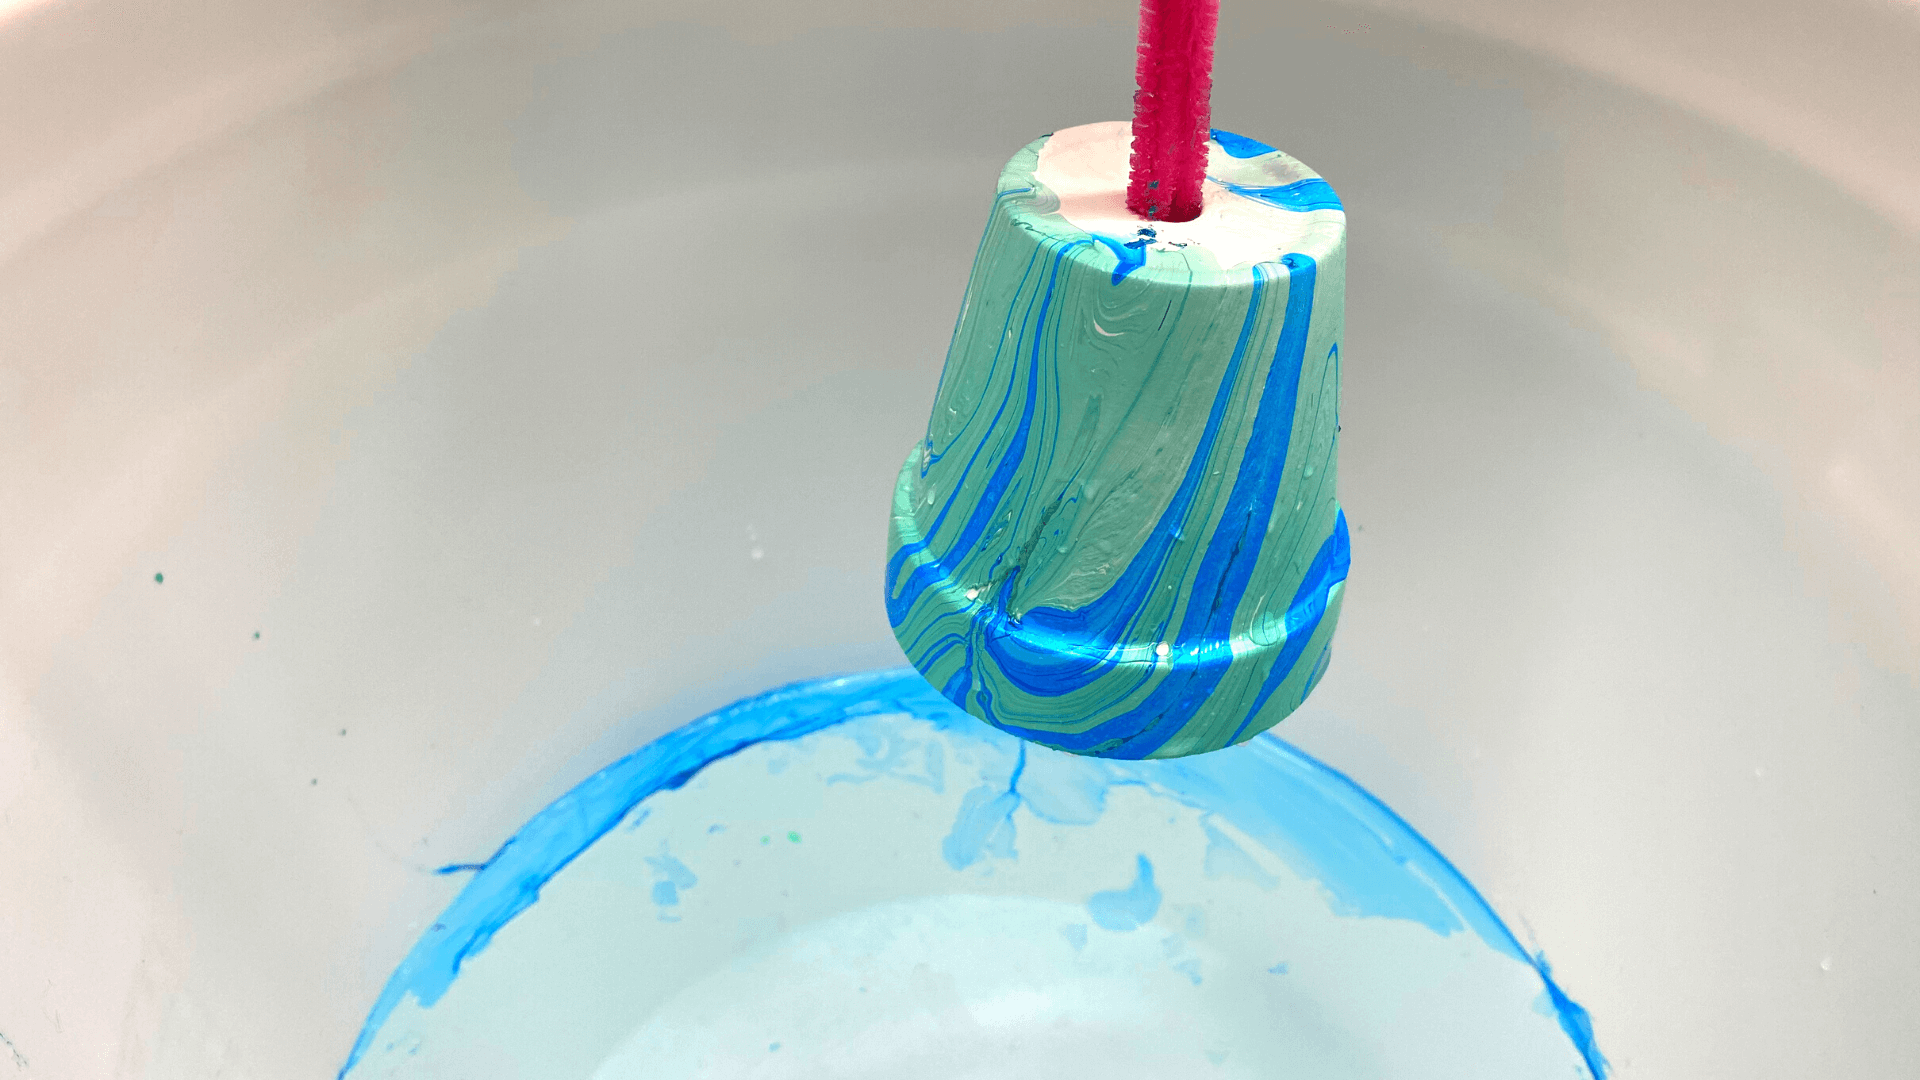
Dip your Pot!Slowly dip your pot into the paint. You can use your dowel rod to help push your pot down into the water by gently pressing down on the bottom of the pot with the dowel rod.
Step 6:
Clean the Water!Before pulling your pot back out of the water, use the dowel rod to move any excess paint still floating on the top of the water away from your pot. This is to avoid your pot getting a double coating of paint and looking clumpy. Once the water around your pot is clean and clear, pull your pot out!
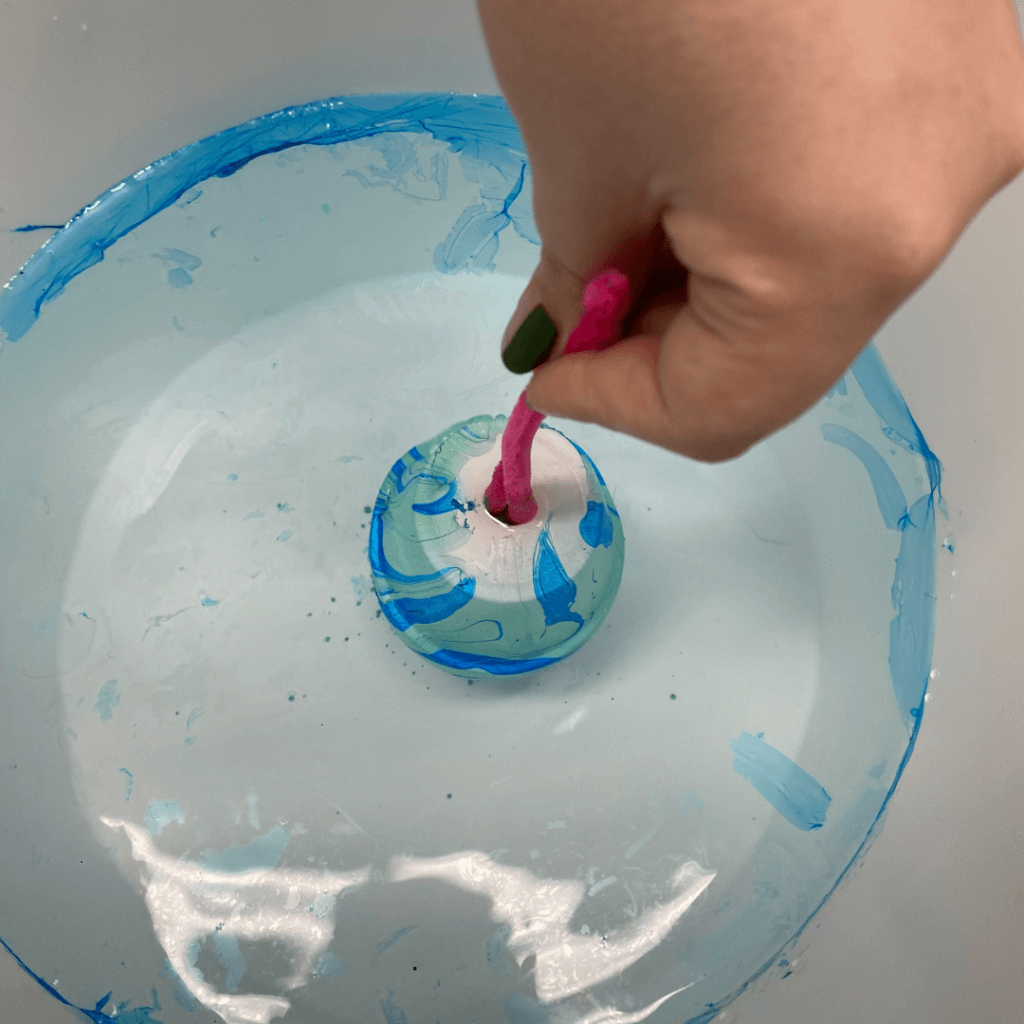
Step 7:
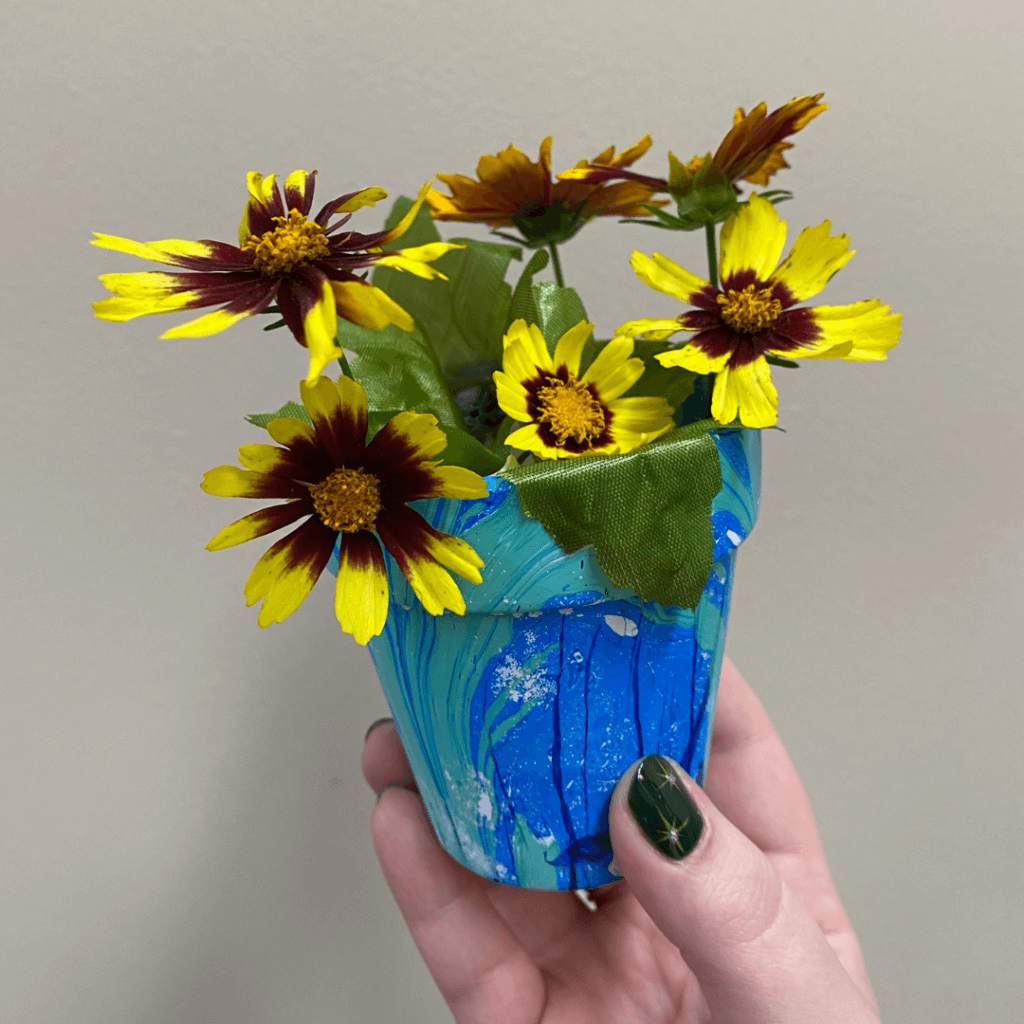
You are an Artist!Admire your beautiful work! The paint should be dry almost instantly, you will just need to wait for the water to dry before planting any seeds!Place your pot on your paper towels, and you’re all finished!
Expand on the Activity
While you're working, let's learn HOW your hydro-dipped painted pot activity is working!
Paint is hydrophobic – which means it doesn't mix with water. Just like oil separates from water when combined, so does hydrophobic paint! The paint floats on top because it is less dense! Surface tension also helps to pull the paint towards our pot as it moves, giving us an even coating.
Try using your pot to create a pollinator garden! Sadly, deadly pesticides have hurt Florida's pollinator count greatly. But we can support our pollinators by providing them with the Florida native wildflowers that they love to eat! Even a small garden makes a big difference. A patchwork of pollinator gardens around the country could provide enough habitats to restore healthy communities of pollinators!