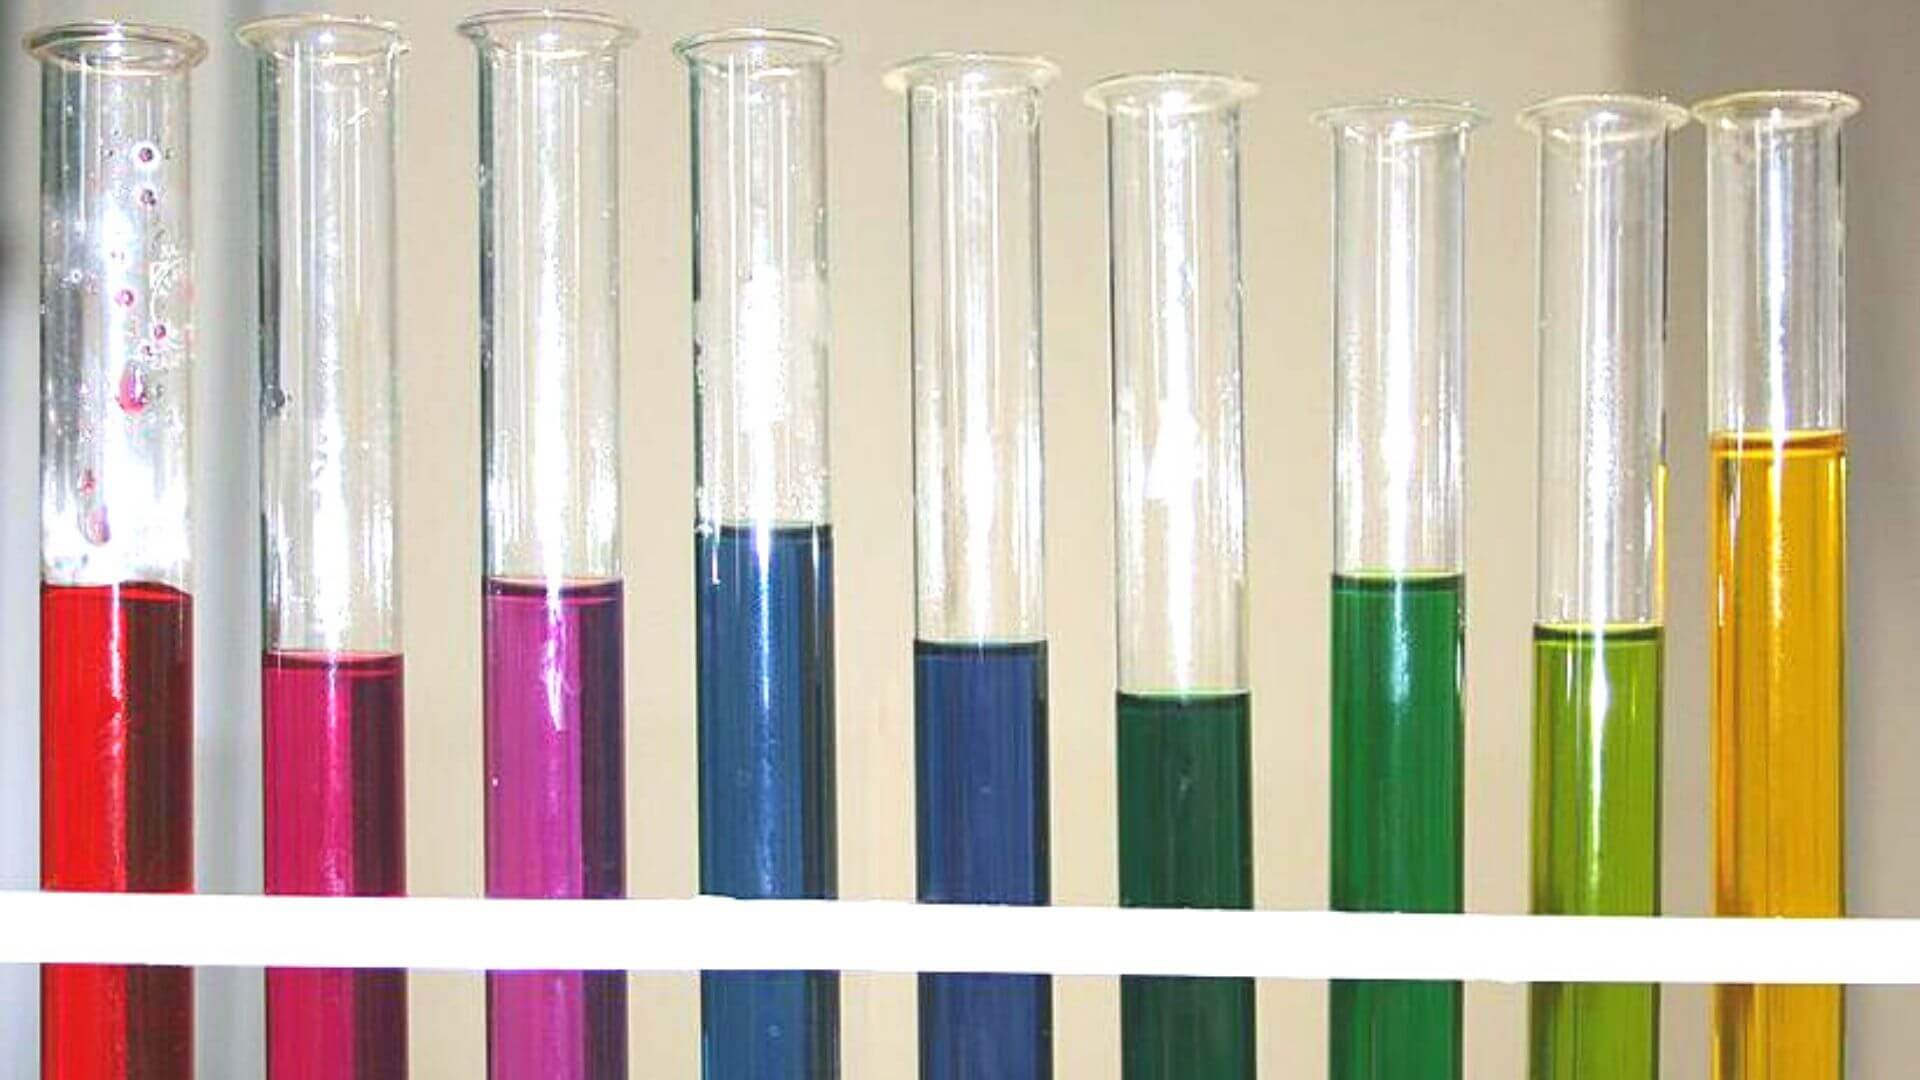
Turn your kitchen into a chemistry lab by making your own DIY pH Indicators!
pH is a measurement of how acidic or basic something is on a scale of 0-14.
Testing how acidic or basic something is with a color-changing indicator is a staple of many chemistry experiments. Now you can try it too! Turn your kitchen into a chemistry lab with DIY pH indicators!
A substance with a pH of 7 (like distilled water) is neutral. A substance with a pH of less than 7 is an acid. The closer the number gets to zero, the stronger the acid is. A substance with a pH of more than 7 is a base. The closer the number is to 14, the stronger the base is.
Try making one of these two natural DIY pH indicators and use it to test the pH of things you find around your home!
Recommend Age: 8+ with adult help for chopping and boiling.
Materials you will need for a red cabbage pH indicator:
- Red cabbage
- Knife and cutting board
- Warm water
- Blender
- Strainer or funnel with coffee filter
- Container to collect indicator
WARNING: Cabbage and blueberry juices can stain clothes! Mess-friendly play clothes or coverings such as aprons are recommended for this activity.
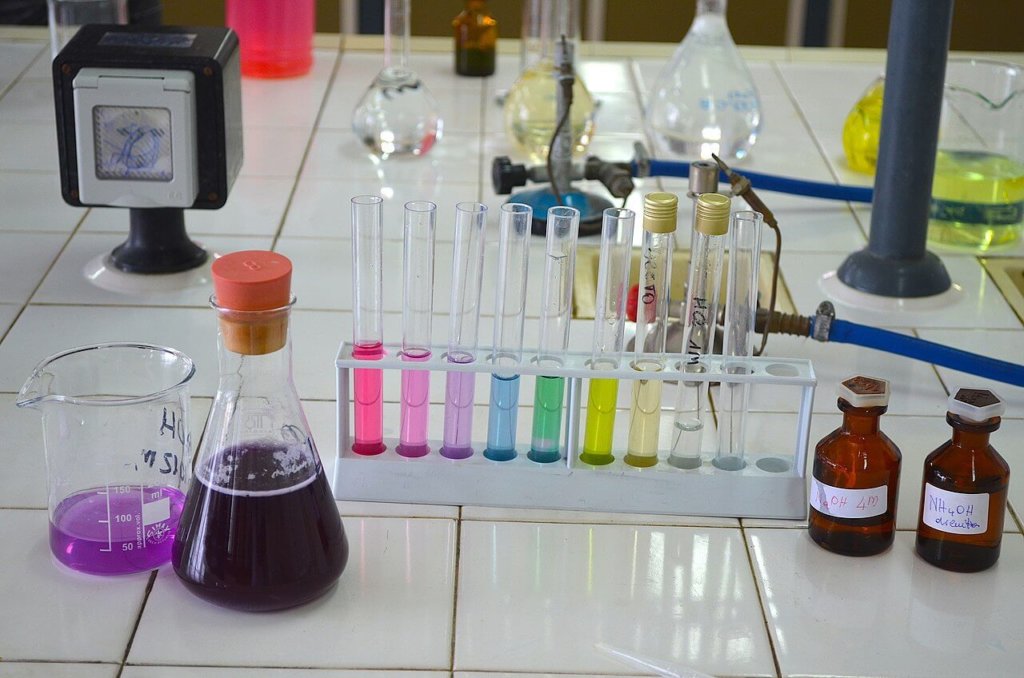
Directions for making red cabbage pH indicator:
STEP 1
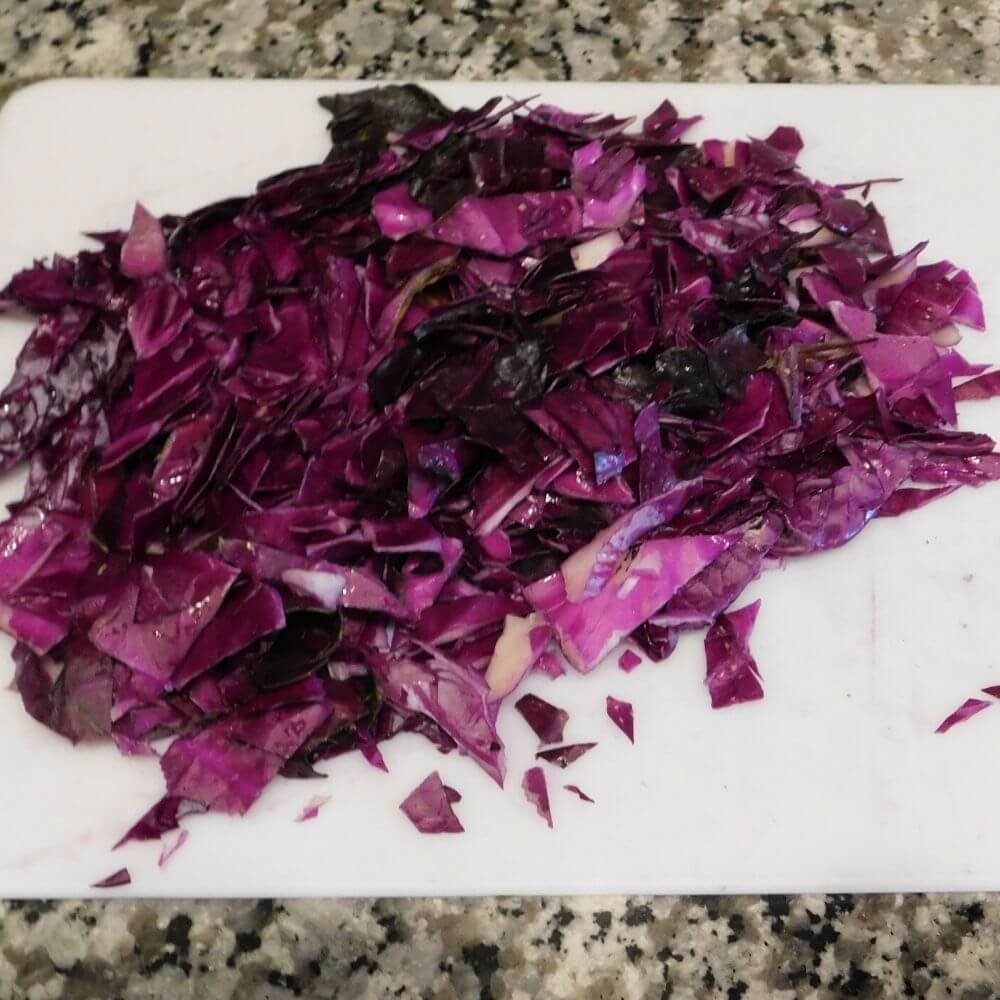
- Peel 3 or 4 big leaves off a head of red cabbage and chop the leaves into small pieces.
- Fill a blender halfway with hot water.
- Add the chopped cabbage leaves to the blender.
- Blend the leaves and water on high until the liquid turns purple and all the leaves are blended.
*Alternatively, you can boil the chopped leaves in just enough water to cover them for a few minutes, then let steep for 30-60 minutes.
STEP 2
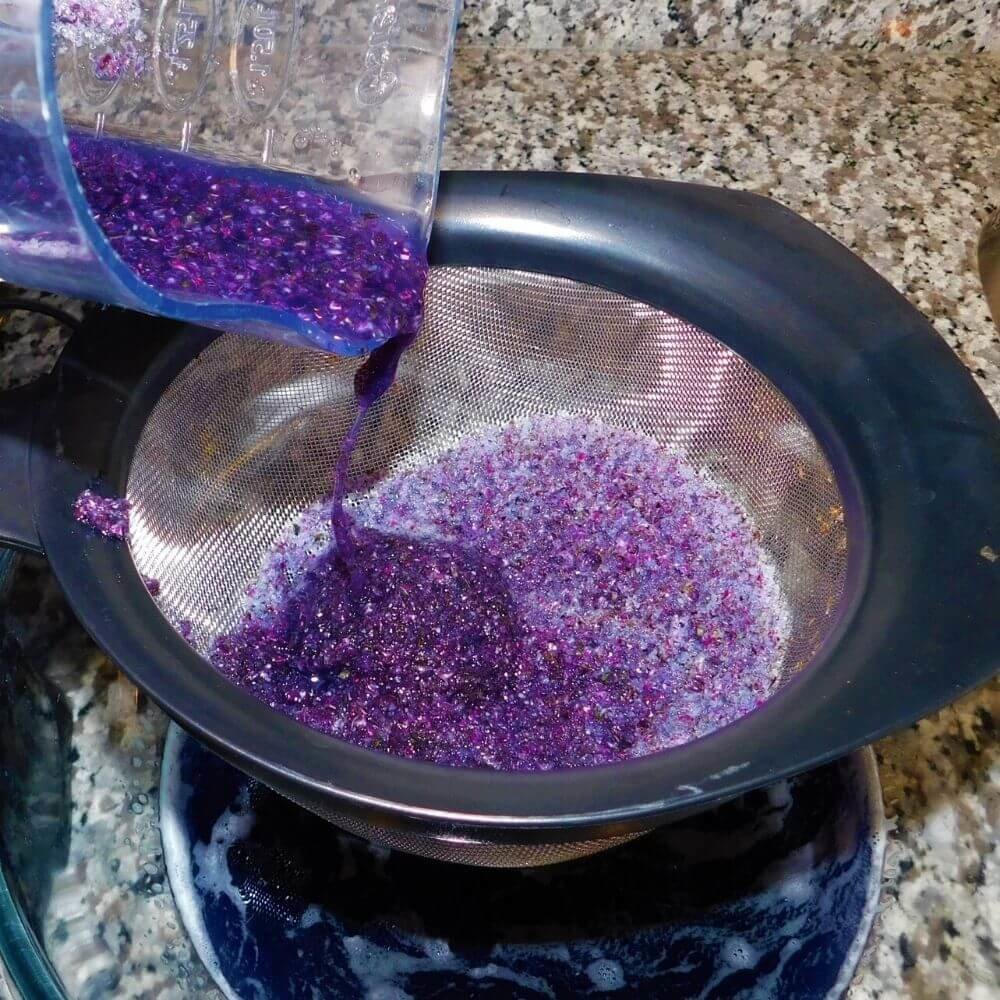
- Place a strainer or funnel lined with a coffee filter over a container to collect the indictor, such as bowl, pot, or bottle.
- Pour the mixture through the strainer to remove the cabbage pulp.
- Push down on the pulp in the strainer with a spoon or spatula to squeeze out more liquid.
STEP 3
- The purple liquid in your container is your indicator solution. The exact color will vary depending on the pH of the water you used.
- Experiment with the indicator using the ideas below!
- Red cabbage indicator can be saved in a sealed container in the refrigerator for up to 1 week.
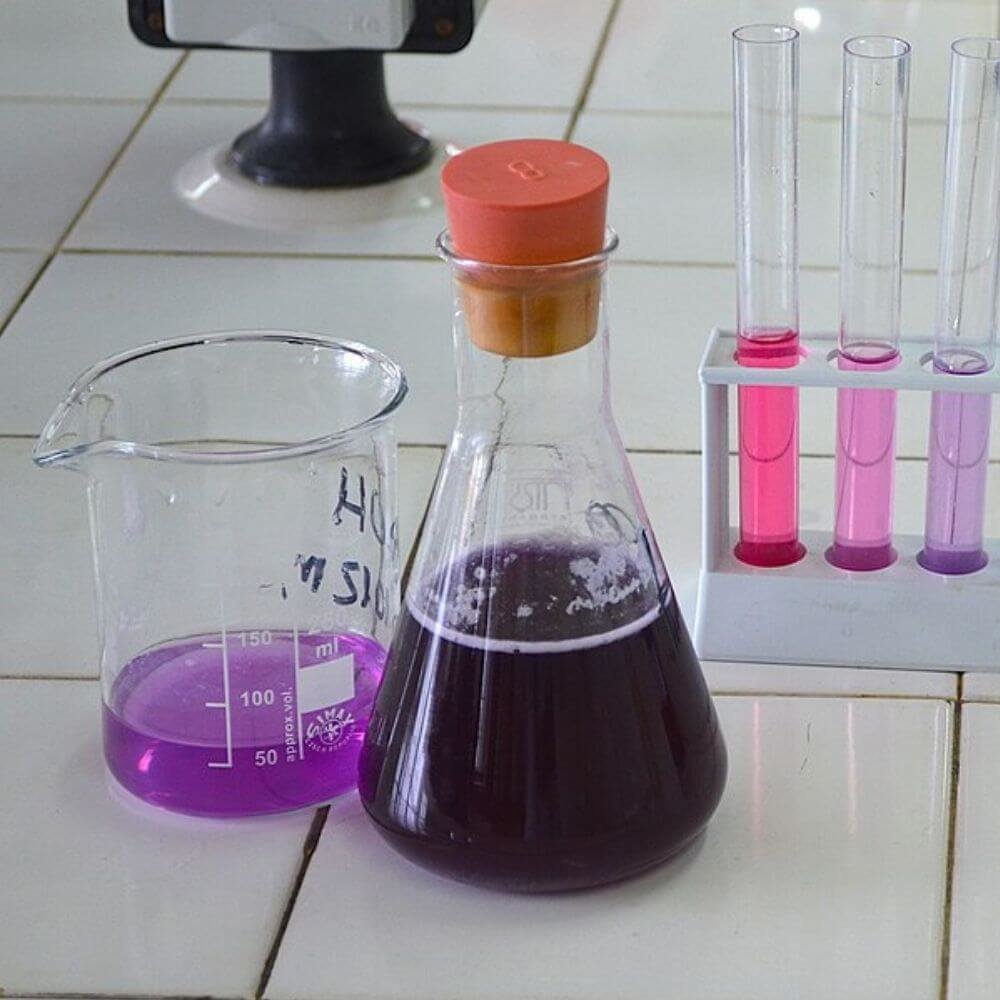
Materials you will need for a blueberry pH indicator:
- 200g blueberries
- Masher, spoon, or spatula to mash blueberries
- Water
- Pot
- Strainer or funnel with coffee filter
- Container to collect indicator
Directions for making blueberry pH indicator:
STEP 1
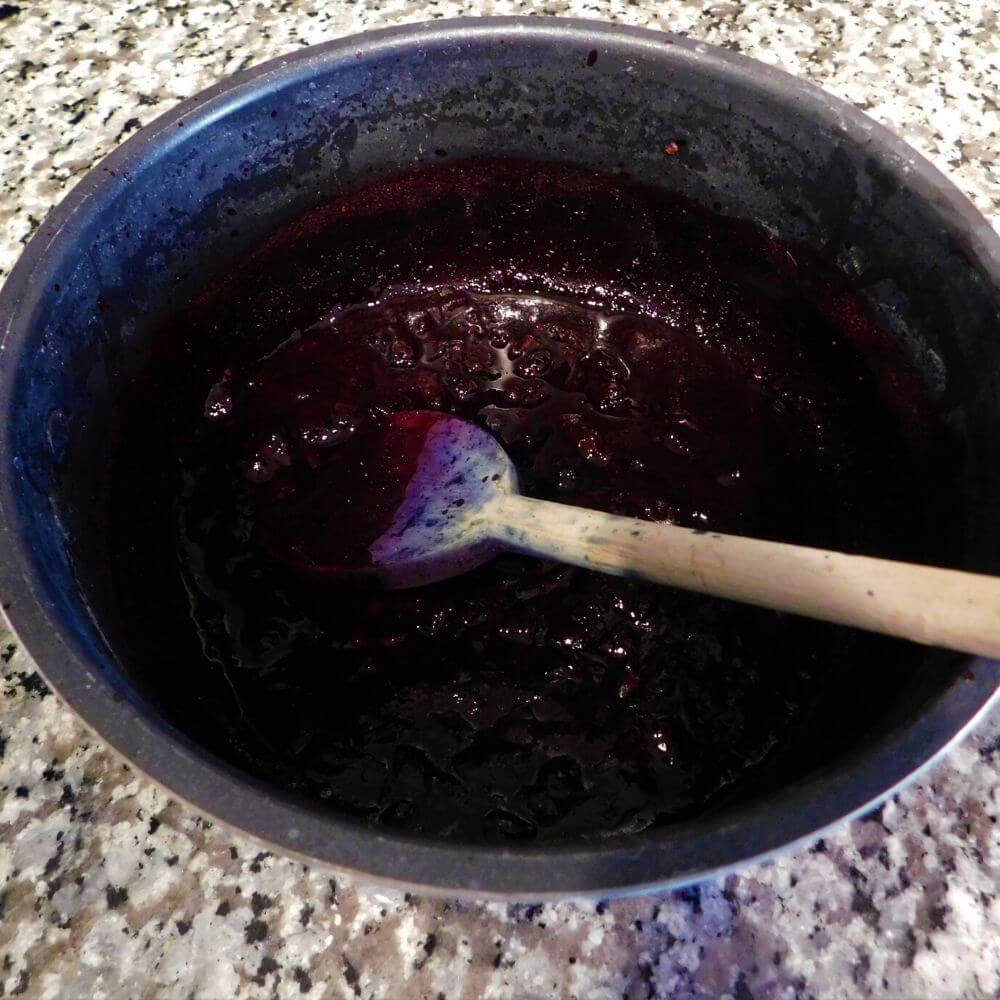
- Mash the blueberries in a bowl or pot to release the blueberry juice.
- Add mashed blueberries, juice, and a half cup of water to a pot.
- Boil the blueberries for 5-10 minutes. The blueberry juice will turn red-purple.
STEP 2
- Place a strainer or funnel lined with a coffee filter over a container to collect the indictor.
- Pour the mixture through the strainer to remove the blueberry skins.
- Push down on the skins in the strainer with a spoon or spatula to squeeze out more liquid.
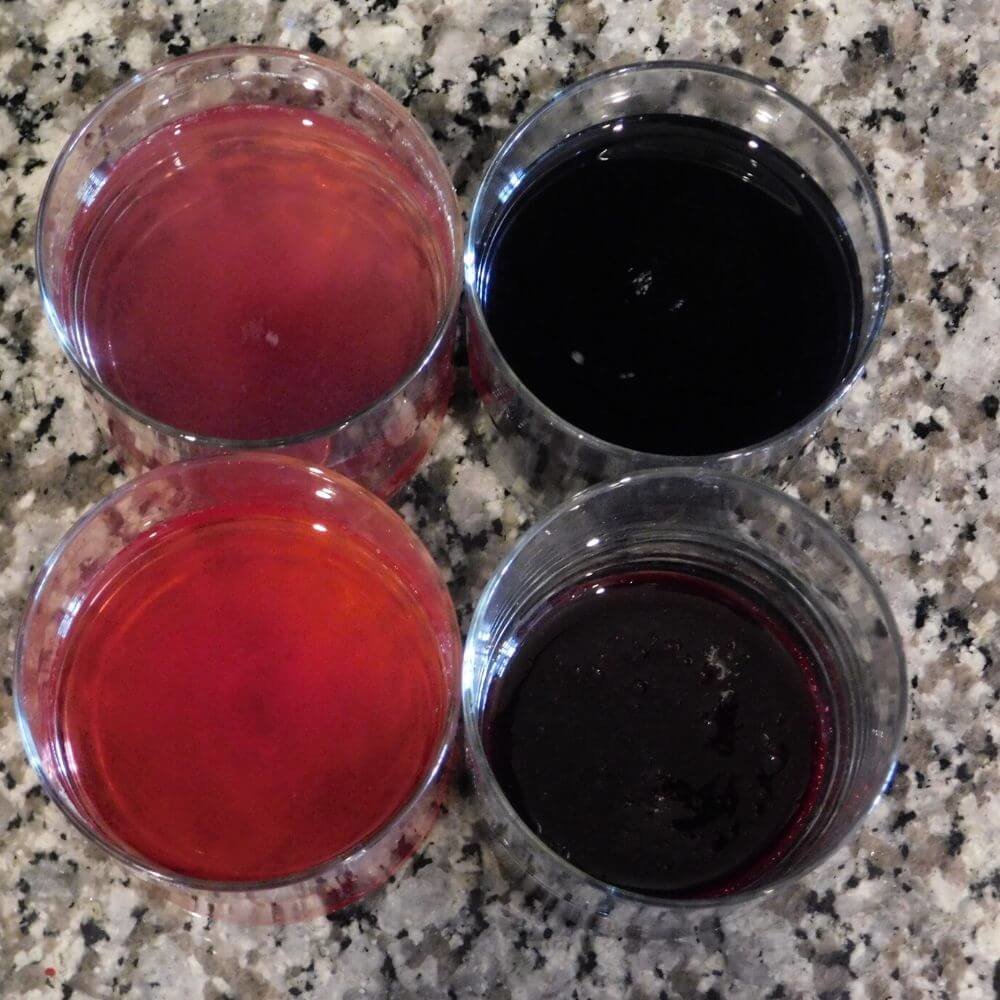
- The purple liquid in your container is your indicator solution. The exact color will vary depending on the pH of the water you used.
What to do with your DIY pH indicators
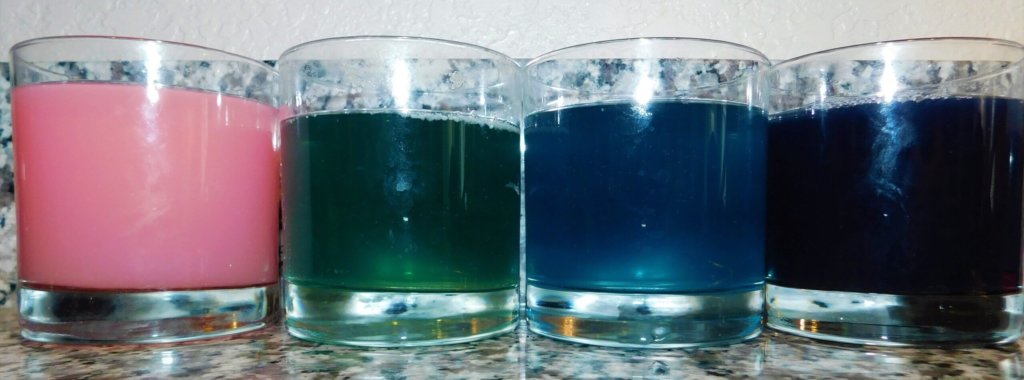
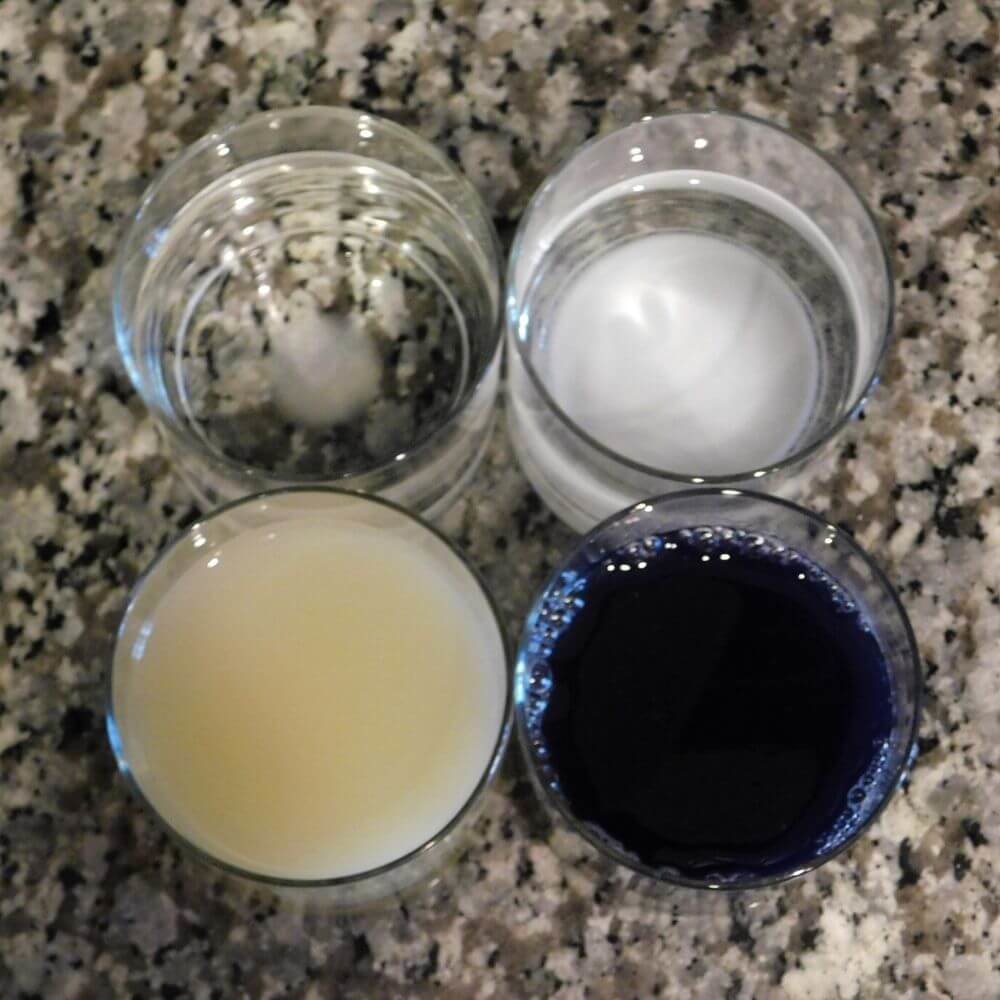
Now that you have your pH indicators, it's time to get to testing! Use household liquids such as salt or distilled water, different fruit juices, milk, liquid detergent or soap, and more!
- Add each of the substances you would like to test to the cups. (Only add one substance to each cup.)
- Add a spoonful of indicator to the first cup, and stir the indicator into the substance.
- Observe the color changes. What do you see? Encourage your scientist to write down what color each substance turns. You can use crayons or markers to help keep track of color changes.
Expand on the Activity:
- What color changes did you see? Did you notice any patterns?
-
If you use vinegar or lemon juice, what do you think will happen to the color of the DIY pH indicator if you add baking soda or an antacid tablet
- For another hands-on chemistry experiment, try making your own STEM slime activity!
The Science: pH and pH indicators
- pH is a measurement of how acidic or basic something is. It is measured on a scale of 0-14.
- A substance with a pH of 7 (like distilled water) is neutral. A substance with a pH of less than 7 is an acid. The closer the number gets to zero, the stronger the acid is. A substance with a pH of more than 7 is a base. The closer the number is to 14, the stronger the base is.
- Strong acids and bases can be very dangerous, while weaker acids and bases (those with a pH close to 7) are safer to use.
- We find acids in many of the foods we eat, as well as in our stomachs. Acids found in foods give them a sour taste.
- Bases are commonly found in cleaning products and antacid medications. Bases feel slippery and are rare in food because they taste bitter. For reference, think about the taste of soap!
- pH indicators are compounds that change color in the presence of an acid or a base.
- Different pH indicators have different ranges. Some may only be able to show whether something is acidic or basic, while others may have a wide range of colors that can show different strengths of acids and bases. Some may be better for showing the pH of acids, while others may be better at showing the pH of bases. In a lab, the best indicator to use depends on the pH range you want to see.
Learn More: Chemistry
- There are several different definitions of acids and bases in chemistry.
- A simple chemical definition of an acid is a substance that releases hydrogen ions (H+) when dissolved in water. A simple chemical definition of a base is a substance that makes hydroxide ions (OH-) when dissolved in water or a substance that takes hydrogen ions from an acid.
- Ions are positively (+) or negatively (-) charged particles of an element.
- Many red, purple, and blue plants contain chemicals called anthocyanins, which are weak acids that dissolve in water and change color in response to changes in pH. Because of this, plants with anthocyanins like red cabbage and blueberries can easily be made into pH indicators.
Did you make and test your own indicator? We’d love to see how it turned out! Snap a photo of you making or experimenting with your indicator and submit it to our Science Showcase here or use #OSCatHome on social media!
OSC At Home Emails
Get a round up of our latest activities and ideas delivered straight to your inbox so you don't miss a thing!
Support OSC At Home
In these ever-changing times, it is our pleasure to adapt quality Orlando Science Center experiences to engage with everyone while they are safe at home. Please consider supporting our operating fund to ensure we can continue developing resources today and well into the future. Thank you for your generosity and support!
