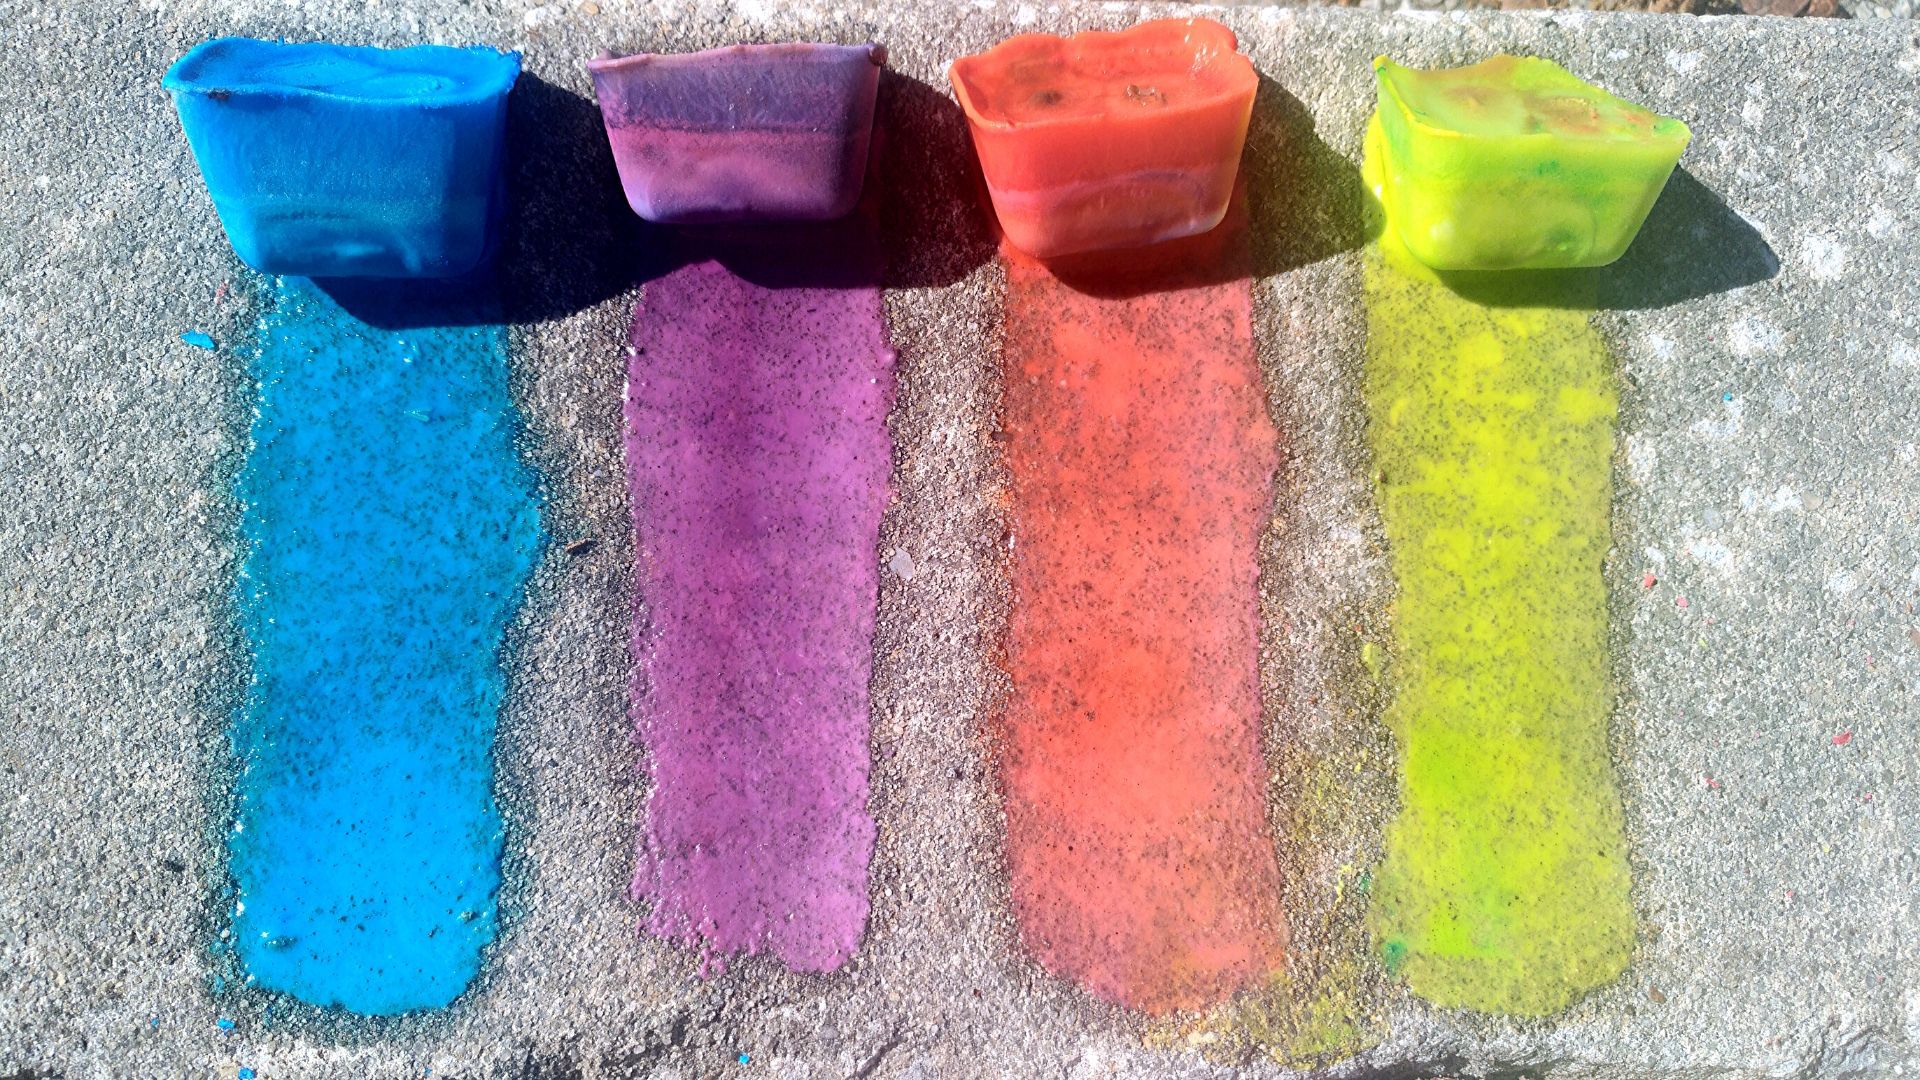
A frozen twist on a classic favorite, ice chalk is a fun way to take your sidewalk art game to the next level!
Sidewalk chalk is cool but ice chalk is even cooler, literally! Start in the kitchen concocting your chalk paintsicles, then, when they're ready, head outside and get to painting your pavement!
Let your worries about keeping children occupied melt away with this sensory outdoor activity. Using simple supplies you may already have in your kitchen, you can create batches of ice chalk to keep busy!
In the event that you're using your ice chalk on a hot day, a paintbrush can extend the life of your activity! Once the ice chalk has melted, just switch from drawing to painting.
Materials:
- ¼ cup corn starch
- ¼ cup baking soda
- ½ cup water
- Mixing bowl
- Ice cube tray or freezable mold
- Vinegar
- Spray bottle(s)
- Food coloring or washable paint such as liquid watercolor or tempera paint*
- Optional: Paintbrush
*WARNING: Food coloring is edible but can stain! Either way, mess-friendly play clothes are recommended for this activity!

Directions:
- Mix ¼ cup of corn starch and ¼ cup of baking soda together in a mixing bowl.
- Pour ½ cup water into the mixing bowl and stir until the corn starch and baking soda dissolve.

- Drop several drops of food coloring into each section of your ice tray.
- Carefully pour your mixture into your ice tray, filling up each cube about ¾ of the way full.

- Gently mix each cube in your ice tray so the color is evenly distributed. You can use a toothpick, fork, or popsicle stick for this step. Remember to use a clean utensil for each new color!
- Chill your ice chalk in the freezer for 3-5 hours.

- Carefully remove your chilled chalk from the ice tray, take it outside, and enjoy!
- As your chalk melts, use a spray bottle to squirt vinegar onto your creations and watch them fizz!

Expand on the Activity:
Encourage your artist to answer these questions!
- How does it feel to draw with your ice chalk?
- How is coloring with your DIY chalk different from coloring with “regular” chalk? How is it the same?
- What do you notice about the chalk as it melts? Can you describe it?
- As your chalk melts, do you see any colors mixing? What new colors do you see?
- What do you notice when you spray vinegar on your chalk creations? What do you see, hear, and smell?
We would love to see your masterpieces! Snap a photo and submit it to our Science Showcase here or use #OSCatHome on social media!
OSC At Home Emails
Get a round up of our latest activities and ideas delivered straight to your inbox so you don't miss a thing!
Find out when we release new resources by following us on social media!
Follow us on social media for even more science fun including fun facts, games, behind-the-scenes photos, and more!

![]()
![]()
![]()
Support OSC At Home
In these ever-changing times, it is our pleasure to adapt quality Orlando Science Center experiences to engage with everyone while they are safe at home. Please consider supporting our operating fund to ensure we can continue developing resources today and well into the future. Thank you for your generosity and support!